Maybe you are new to car car filters serviced in Albany, NY. Whatever the case, changing out the various filters on a car is relatively simple, especially the engine air filter. Changing out the engine air filter on your car is the second easiest maintenance task you can do right in your driveway. The first? Checking your engine fluids. I’m not kidding, it’s that easy. If you know how to do it, it can only take a minute, and requires no tools whatsoever.
Therefore, if you want to save yourself some money at your next maintenance visit, or just want to learn a little more about working on your car, check out this guide on how to change out your car’s engine air filter. It’s bound to give you a confidence boost, and is a great stepping stone for at-home car maintenance to bigger and better repairs.
But First – Why is the Engine Air Filter Significant?
The engine air filter is often underrated and overlooked by most vehicle owners. Some may not even know it exists, which is unfortunate because it’s one of the most important parts of your car. Why? It directly contributes to the health and performance of your engine. Without an air filter working properly, it can experience numerous issues that can hinder your engine, and cost you more money at the fuel pump. But, more on that later. First, let’s explore what an air filter does.
In order for your gas-powered engine to run, it uses a process called combustion. Combustion utilizes three key elements, two of which are found inside the vehicle, and one that comes from outside the vehicle. Even though that may sound complicated, combustion is a relatively simple concept: air mixes with fuel, and then a spark plug throws a spark at that mixture — then, boom! A miniature explosion is created, and that’s the foundation of what makes your car move.
While that was a nice little science lesson, you are probably wondering why the engine air filter is directly involved. Well, just like the name states, it filters the air used for the engine’s combustion process. Since the fuel and spark come from parts found inside the vehicle, they are safe resources. The air required to start the combustion process, however, could be considered unsafe since it comes from outside the vehicle. This is because the air outside is filled with many impurities — such as dust, dirt, pollen, and whatever other infuriating thing you can think of — that will have a negative impact on the combustion, which in turn affects the overall performance.
Compare it to you (or someone who know) who has allergies. If they work outside a lot, they might wear a face mask to help with the pollen, dust, and dirt. This drastically reduces the intake of polluted sources entering your and/or your friend’s body, and helps you and/or your friend breathe easier. The engine air filter is the same idea, it’s just used for an engine instead of a pair of lungs.
Which is Why You Need to Change it Regularly!
Since it plays such a pivotal role in your vehicle’s performance, it’s important to make sure that it is changed out regularly. The typical rule of thumb with air filters is once a year or every 12,000 miles. That’s for a cleaner environment, however; and if you live in an area where there are more pollutants, you will want to change it out more frequently. A heavier polluted environment means the filter’s effectiveness wears-out faster than one in a good environment, which is bad news because this filter directly affects three things: the fuel-efficiency, life of your engine, and emissions output of your vehicle.
Since the engine air filter traps all the pollutants, it get’s dirty after a while, which is why it needs to be changed out. A dirty air filter doesn’t allow the proper amount of air to enter the engine. This reduced amount of air means a higher concentration of fuel is used in the combustion process to make up for this lack of air, in turn causing more fuel to be consumed in order for your engine to work properly. It’s not a negligible increase in fuel consumption, either — and chances are you’ll notice yourself stopping at a fuel pump more frequently if you have a clogged-up air filter.
Apart from fuel-efficiency, dirt, dust, and pollen can all take their toll on an engine, and eventually cause serious damage to it. Therefore, the filter needs to work properly in order to protect the engine. The reduced airflow can also mess with the vehicle’s emission control system, which will cause it to hurt the environment as well as your engine.
It’s not one or the other with these: neglecting your air filter will cause all of this to happen, eventually.
Steps to Changing It
Now that you’ve been made aware of the significance and potential harm if the filter is neglected, it’s time to take a look at how to replace it.
Step One: Figuring Out the Part Number
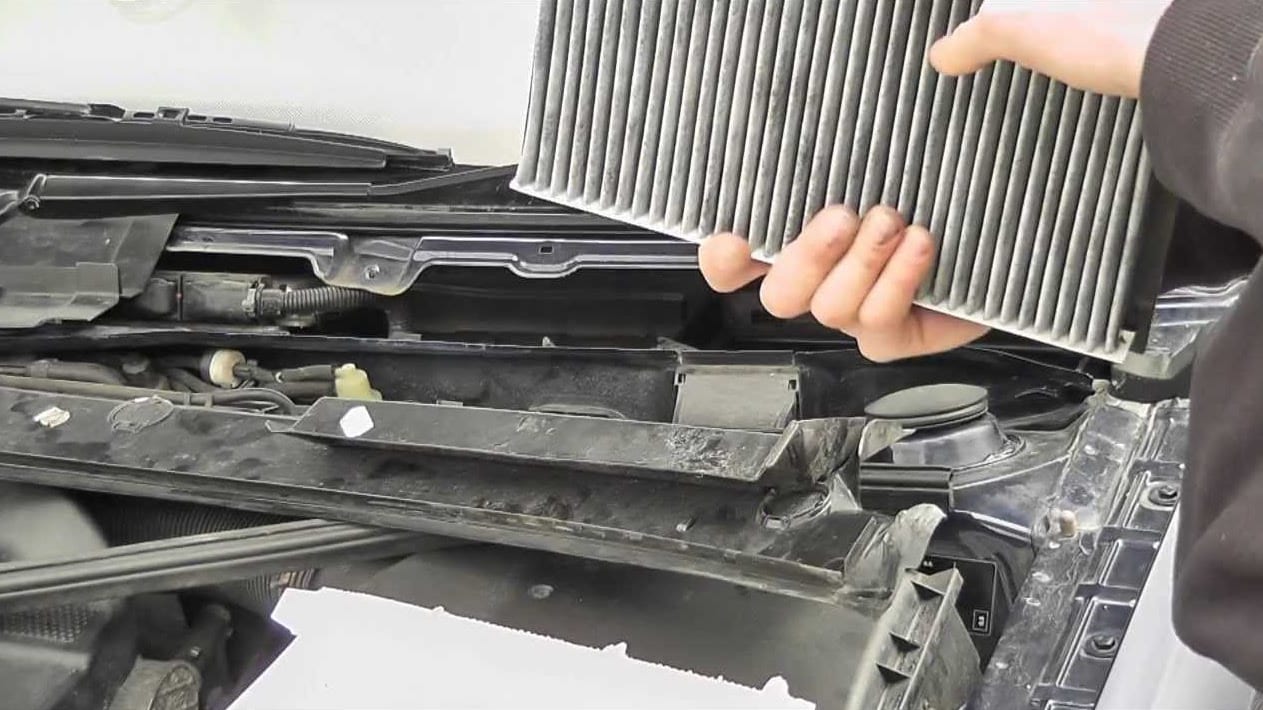
Before you can change the old one, you need to have a new one. Go to your local auto parts store or Walmart and buy an air filter. Most of them are cheap, and cost around $10. In order to figure out what type of filter you need is just as easy as changing it. The places that sell air filters have a book with your car indexed in it, which will tell you the part number on the shelf you need. Simply look up your car, find the air filter, and grab the one that has a matching part number. An important tidbit is that air filters on older cars will typically be round, and new ones will be rectangular/square. Also, make sure not to grab a cabin air filter instead. This is a whole different type of filter; the one you want is an engine air filter.
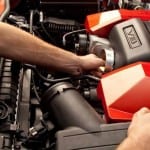
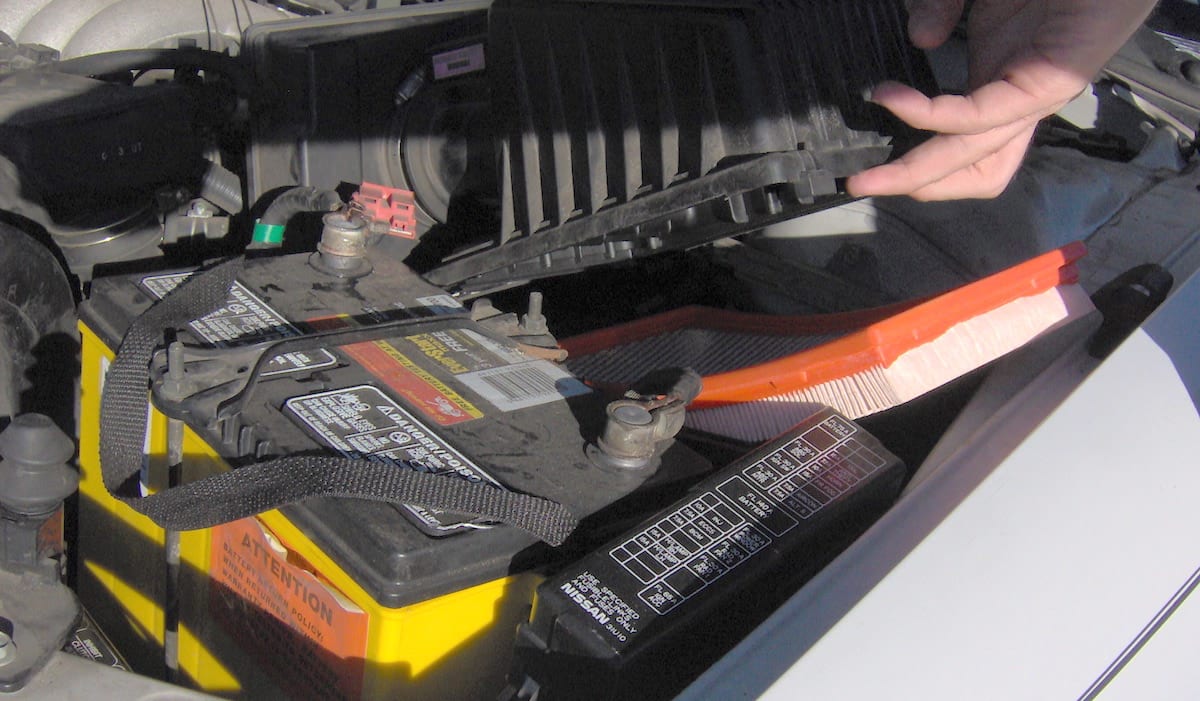
Step Two: Locate the Air Filter Box
Finding the air filter box is really easy because it’s the big plastic box that’s sitting on top and to the side of the engine. Seriously, you can’t miss it.
Step Three: Open the Box
No tools are required to open this, just your hands. Find the big metal clips that are holding it together, and unclasp them.
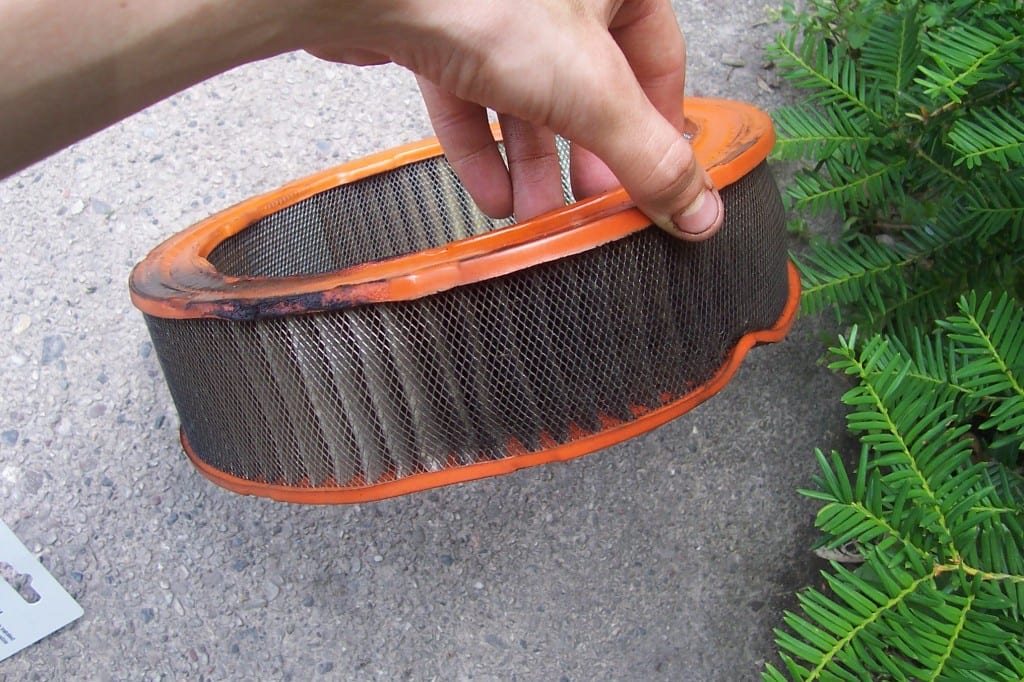
Step Four: Remove and Check the Old Air Filter
Now, you will see the air filter sitting there. Remove it gently, and make sure you pay attention to the placement of it. Now that you are holding it, peel back the folds or “gills” and take a look inside. If it’s in really bad shape, it’s time to change it out.
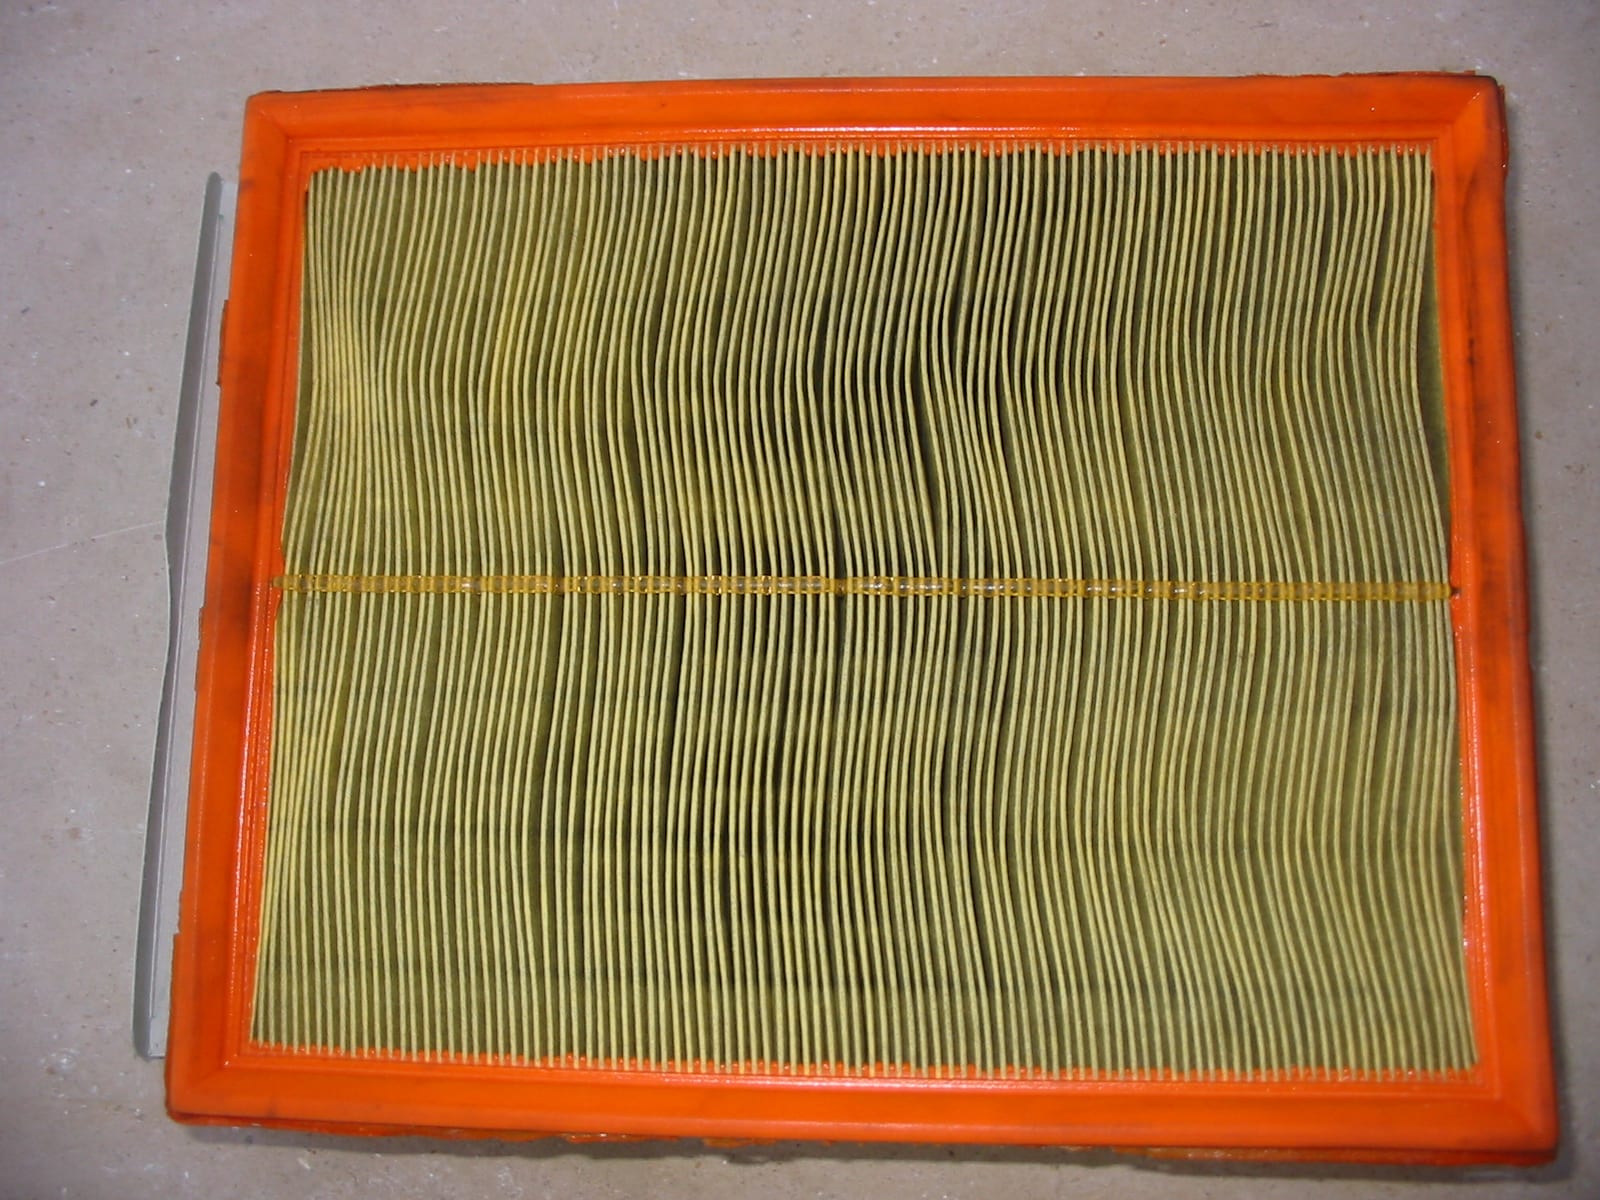
Step Five: Put in the New Filter
Finally, it’s time to put in the new air filter. Place the new one in the box, and make sure it’s sitting in the same position as the old one. Then put the lid back on, and snap the clips. You’re done!
There you have it – a simple task with an easy execution. Accomplishing this will give you the confidence to start moving onto bigger maintenance projects on your car, and you just helped your engine’s overall health, and saved yourself money at the gas station. Plus, now if you watch them changing out the air filter at a garage, you know what to look out for.